


Having fun is a basic need too, and that includes sweet and tasty treats. Jams and jellies are a very old way of preserving sweet fruits like berries so we can have them all year round without them going bad, instead of only when they’re ripe! This recipe is for an extra special and interesting jelly: Jelly made of edible flowers. It’s also a great beginner project because it’s very easy and comes out great every time.
How does canning work?
The metal cans of vegetables, fruit, or soup that might be in your pantry are made the same way we “home can”, but we use glass jars and special metal lids. Canning is a way that we can keep food from going bad for months without a refrigerator.
Food normally goes bad by getting moldy. Molds are types of fungi, and they grow from microscopic “spores”, which are kind of like seeds. Fungus spores are everywhere. They’re in the air that we breathe, on all the surfaces that we touch, and on top of and even inside food! Fungus spores on their own aren’t a problem, but when they land on food and are left alone for a few hours or days, they grow into molds that can make us sick. Usually, we can smell that food is bad before we can see the mold, but not always.
When we can food, we seal it up inside a container, and then sterilize the food inside with heat. The heat kills all the fungus spores that are already on all food so that they can’t grow and make the food go bad, and since the food is sealed inside a jar, no new spores can land on it.
Canning lid anatomy
Canning lids have two parts: a flat disk that sits on top of the jar and a metal ring (sometimes called a band) that screws into the threads of the jar.


The flat disk is just called the lid. It has a special rubber seal that melts with heat and sticks to the glass rim of the jar. Canning lids can only be used once. Canning rings can be reused as many times as you like, as long as they’re still in good condition (not rusted or bent).
Botulism
Botulism is a very serious sickness that people can get from eating foods that weren’t canned right. It’s caused by a bacteria called clostridium botlunium that’s all around us, just like fungus spores are; and just like the fungus spores are OK when we eat them, you probably eat the bacteria all the time and it doesn’t hurt you. Clostridium botlunium likes to grow in “anaerobic environments”, which means places where there’s very little or no air (like the inside of a sealed canning jar). When it grows, it creates a toxin that can make people very sick.
However, there are two very reliable ways to make sure botulism can’t grow in your home-canned food. Clostridium botlunium can’t grow in food that’s too acidic for it, so the first way to be safe from botulism is to make sure that the food you’re canning is acidic enough to kill the bacteria. This recipe uses lemon juice to reach that acidity.
The second way is to use a piece of equipment called a pressure canner. They work the same way as a pressure cooker, they’re just usually bigger. The higher pressure in a pressure canner actually crushes and kills bacteria like clostridium botlunium.
Let’s get on to the recipe!
Ingredients
2 cups wild violets
4 cups granulated sugar
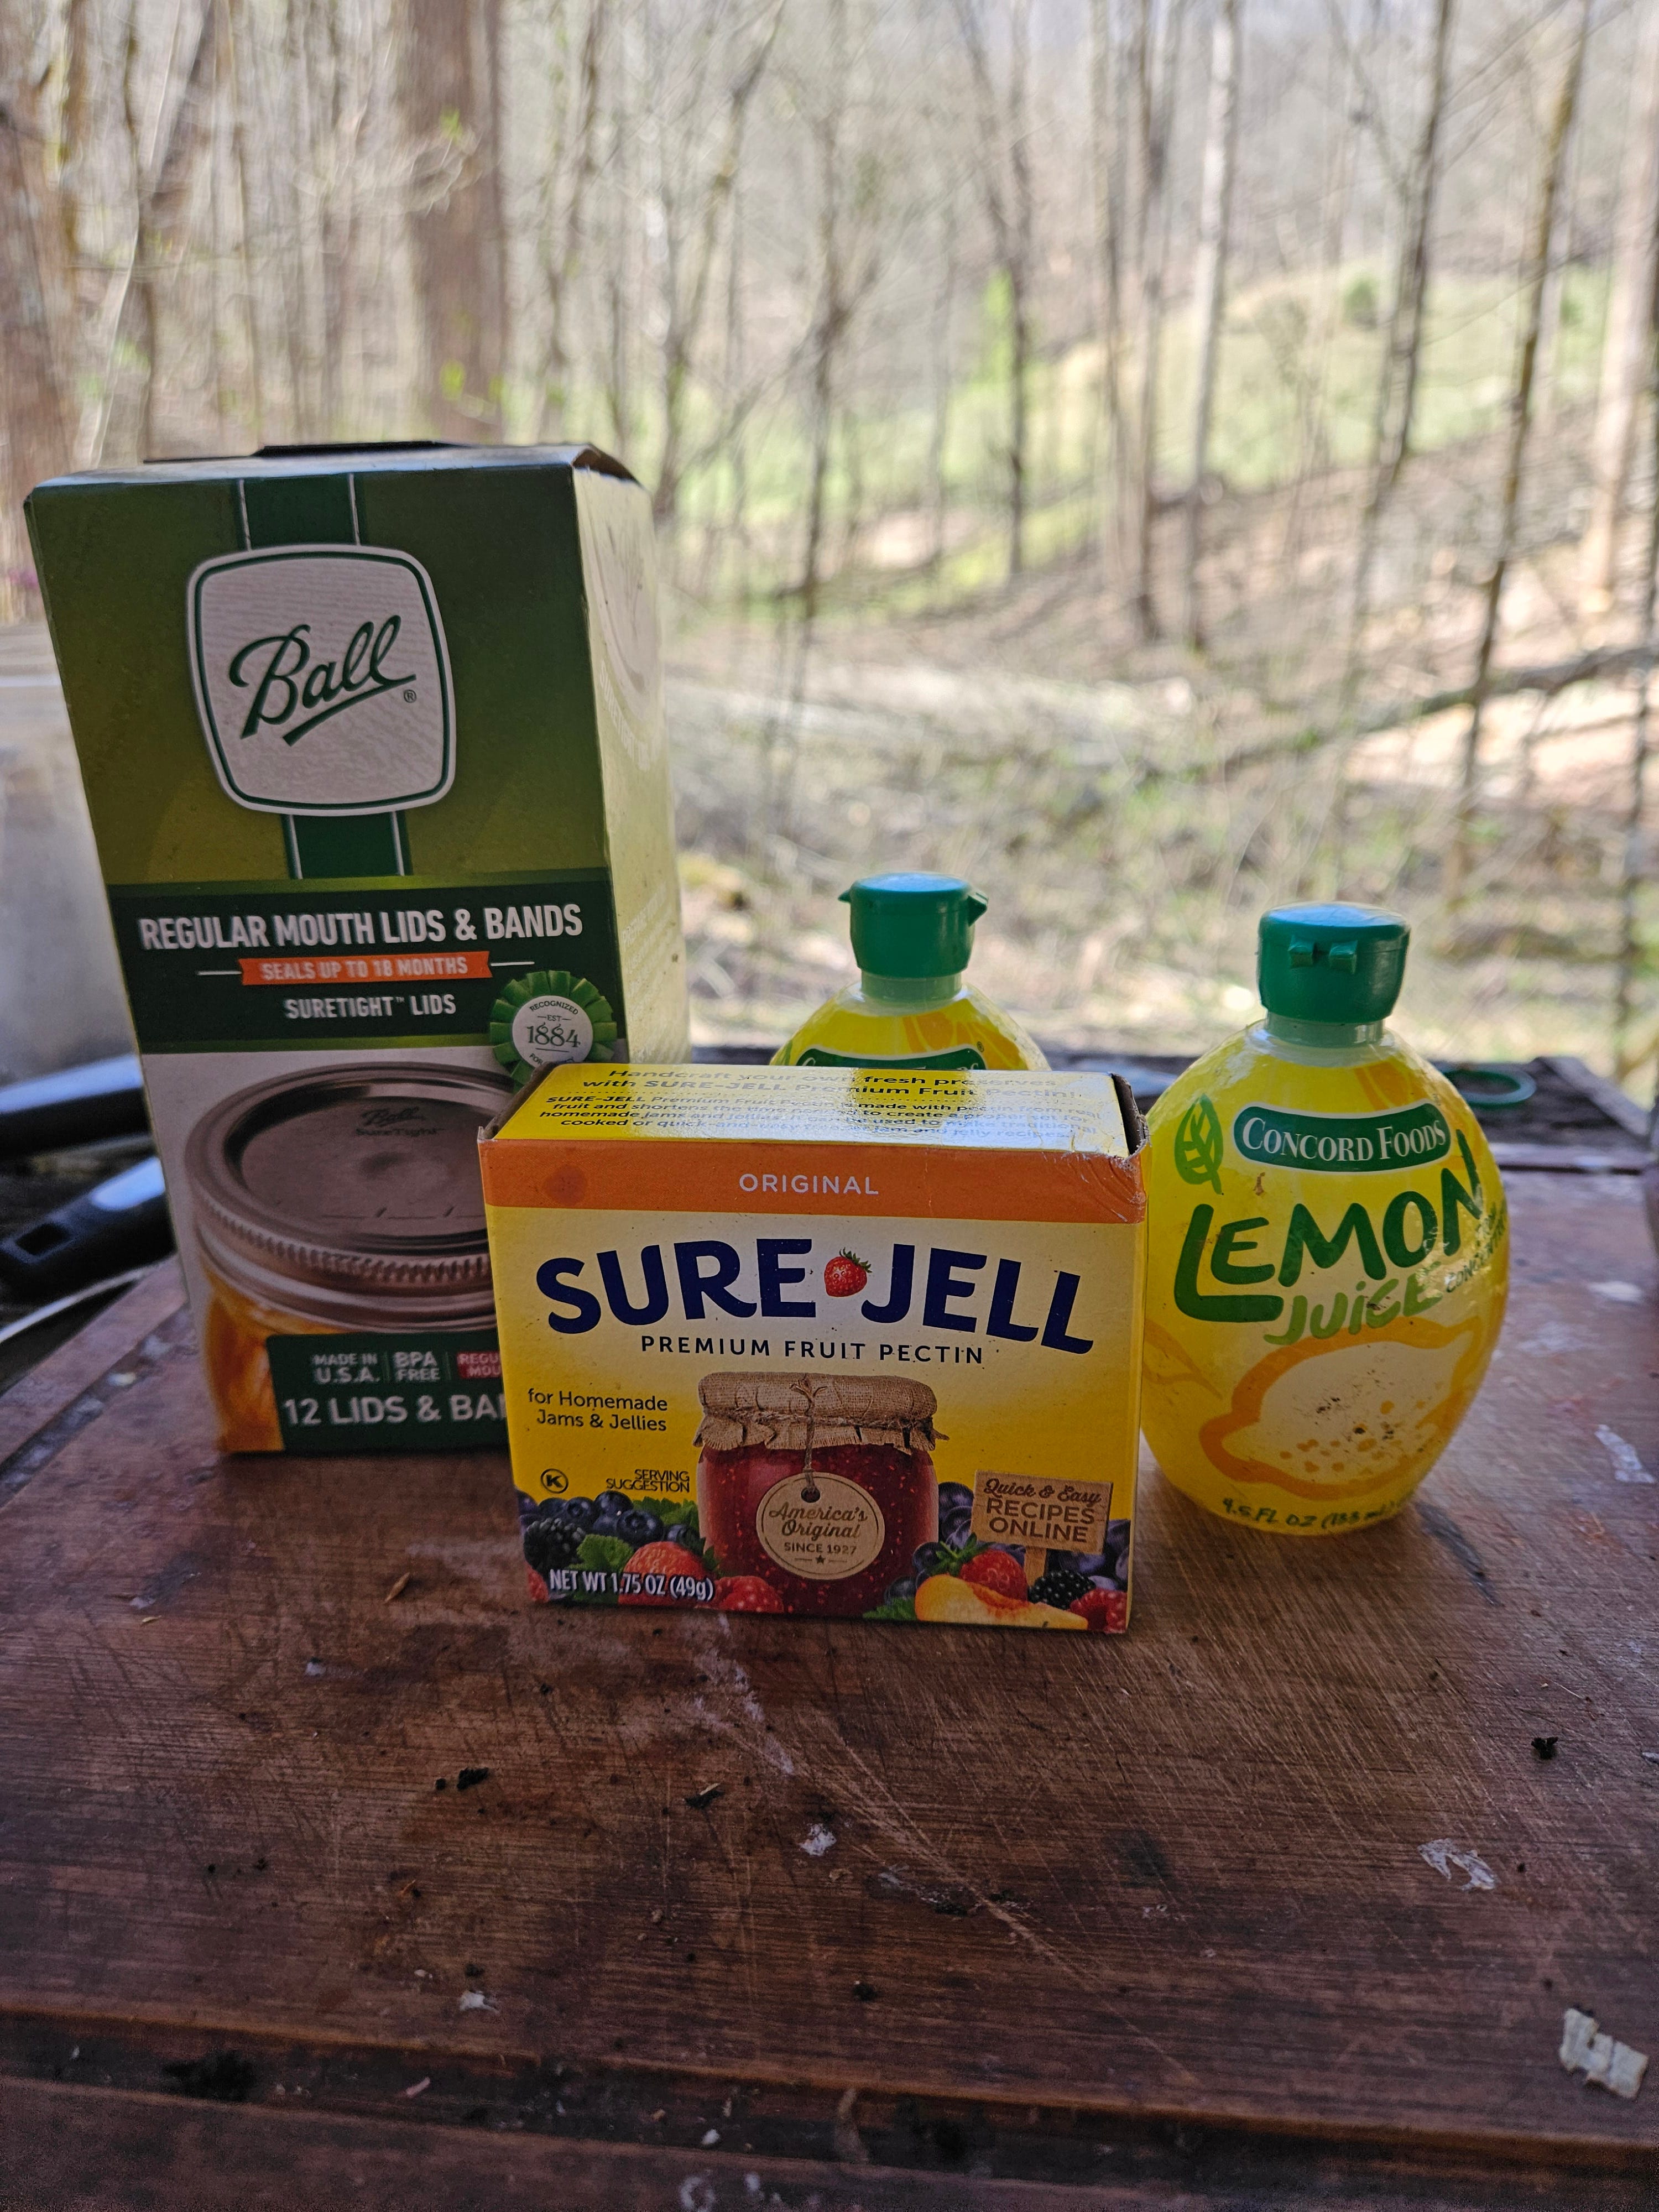
1 package powdered pectin (not liquid!)
½ cup bottled lemon juice
We use bottled lemon juice instead of fresh-squeezed lemon juice because bottled lemon juice has a garaunteed, uniform acidity; whereas the acidity of juice fresh from a lemon varies a little bit.
Tools
A small saucepan
A heat-safe container that will fit four cups of liquid (like a quart mason jar)
5 half-pint canning jars
2-part canning lids
A large pot your jars will fit comfortably inside
Something to keep your jars from touching the bottom of the pot, like a canning rack or some extra canning lid rings
A ladle or measuring cup with a handle to spoon your jelly into your jars
A fork or whisk
Large metal tongs
Measuring cups
a strainer
a stove or hotplate
Directions
Harvest your violets!
Wild violets grow in lawns, parks, fields, and woods. There is a page with very good identification photos here: https://content.ces.ncsu.edu/wild-violet
You’ll want two cups of wild violet flowers—just the flower heads, not the whole stem! Remember to be a good neighbor when you pick your violets—don’t take more than half the flowers off a single plant to make sure it can keep reproducing and making more violets.
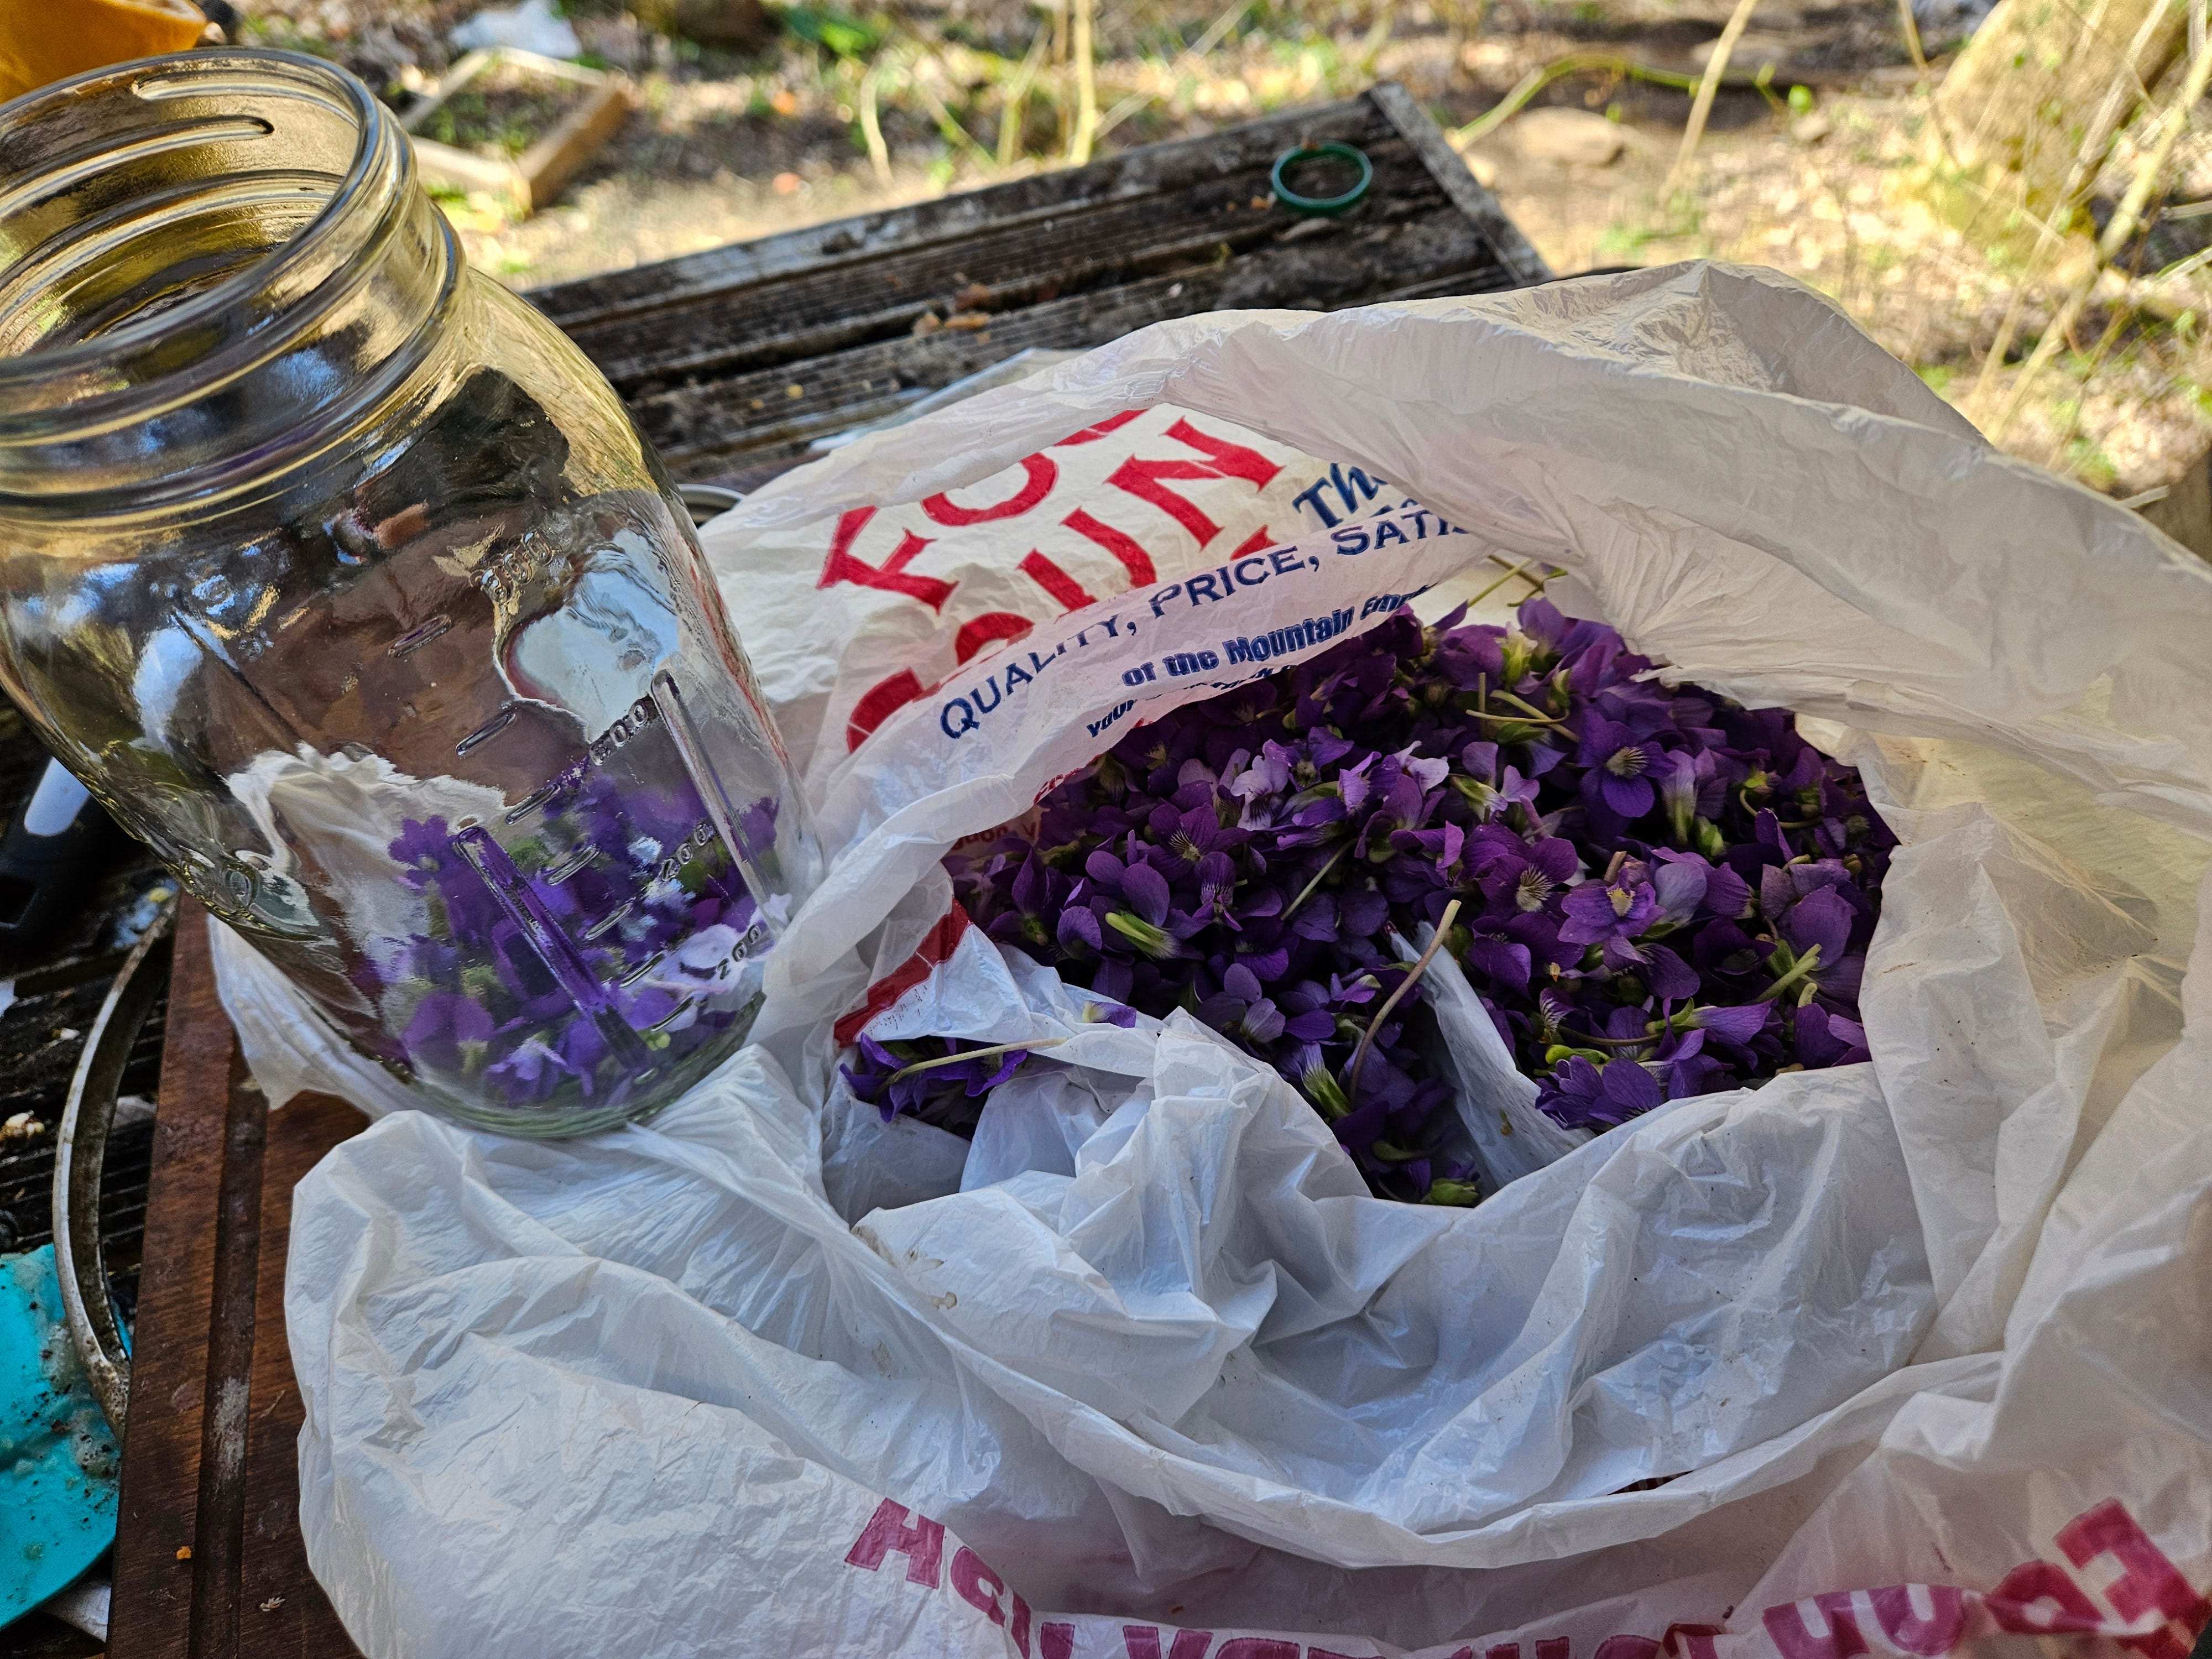
Once you have your harvest, sort out your violet flowers from any grass, bugs or debris, and pull off any stems. Put them into a heat-safe container you can pour 4 cups of boiling water into. Using a quart mason jar makes measuring the boiling water in the next step easy, but you can use any container.
Note for grownups: You can keep your violets in a cool spot for about a day or in the refrigerator for 1-3 days before making your jelly.


Cover your violets with four cups of boiling water, like you would to make tea. Leave them to soak while you set up your canning bath—when they’re ready, the petals will turn very light purple or white.
Prepare your canning bath
Set a canning rack or similar into the bottom of your large pot. I’m using a bunch of old canning rings.
Arrange your jars in the pot on top of the rack and fill with water until the jars are covered by about 2”
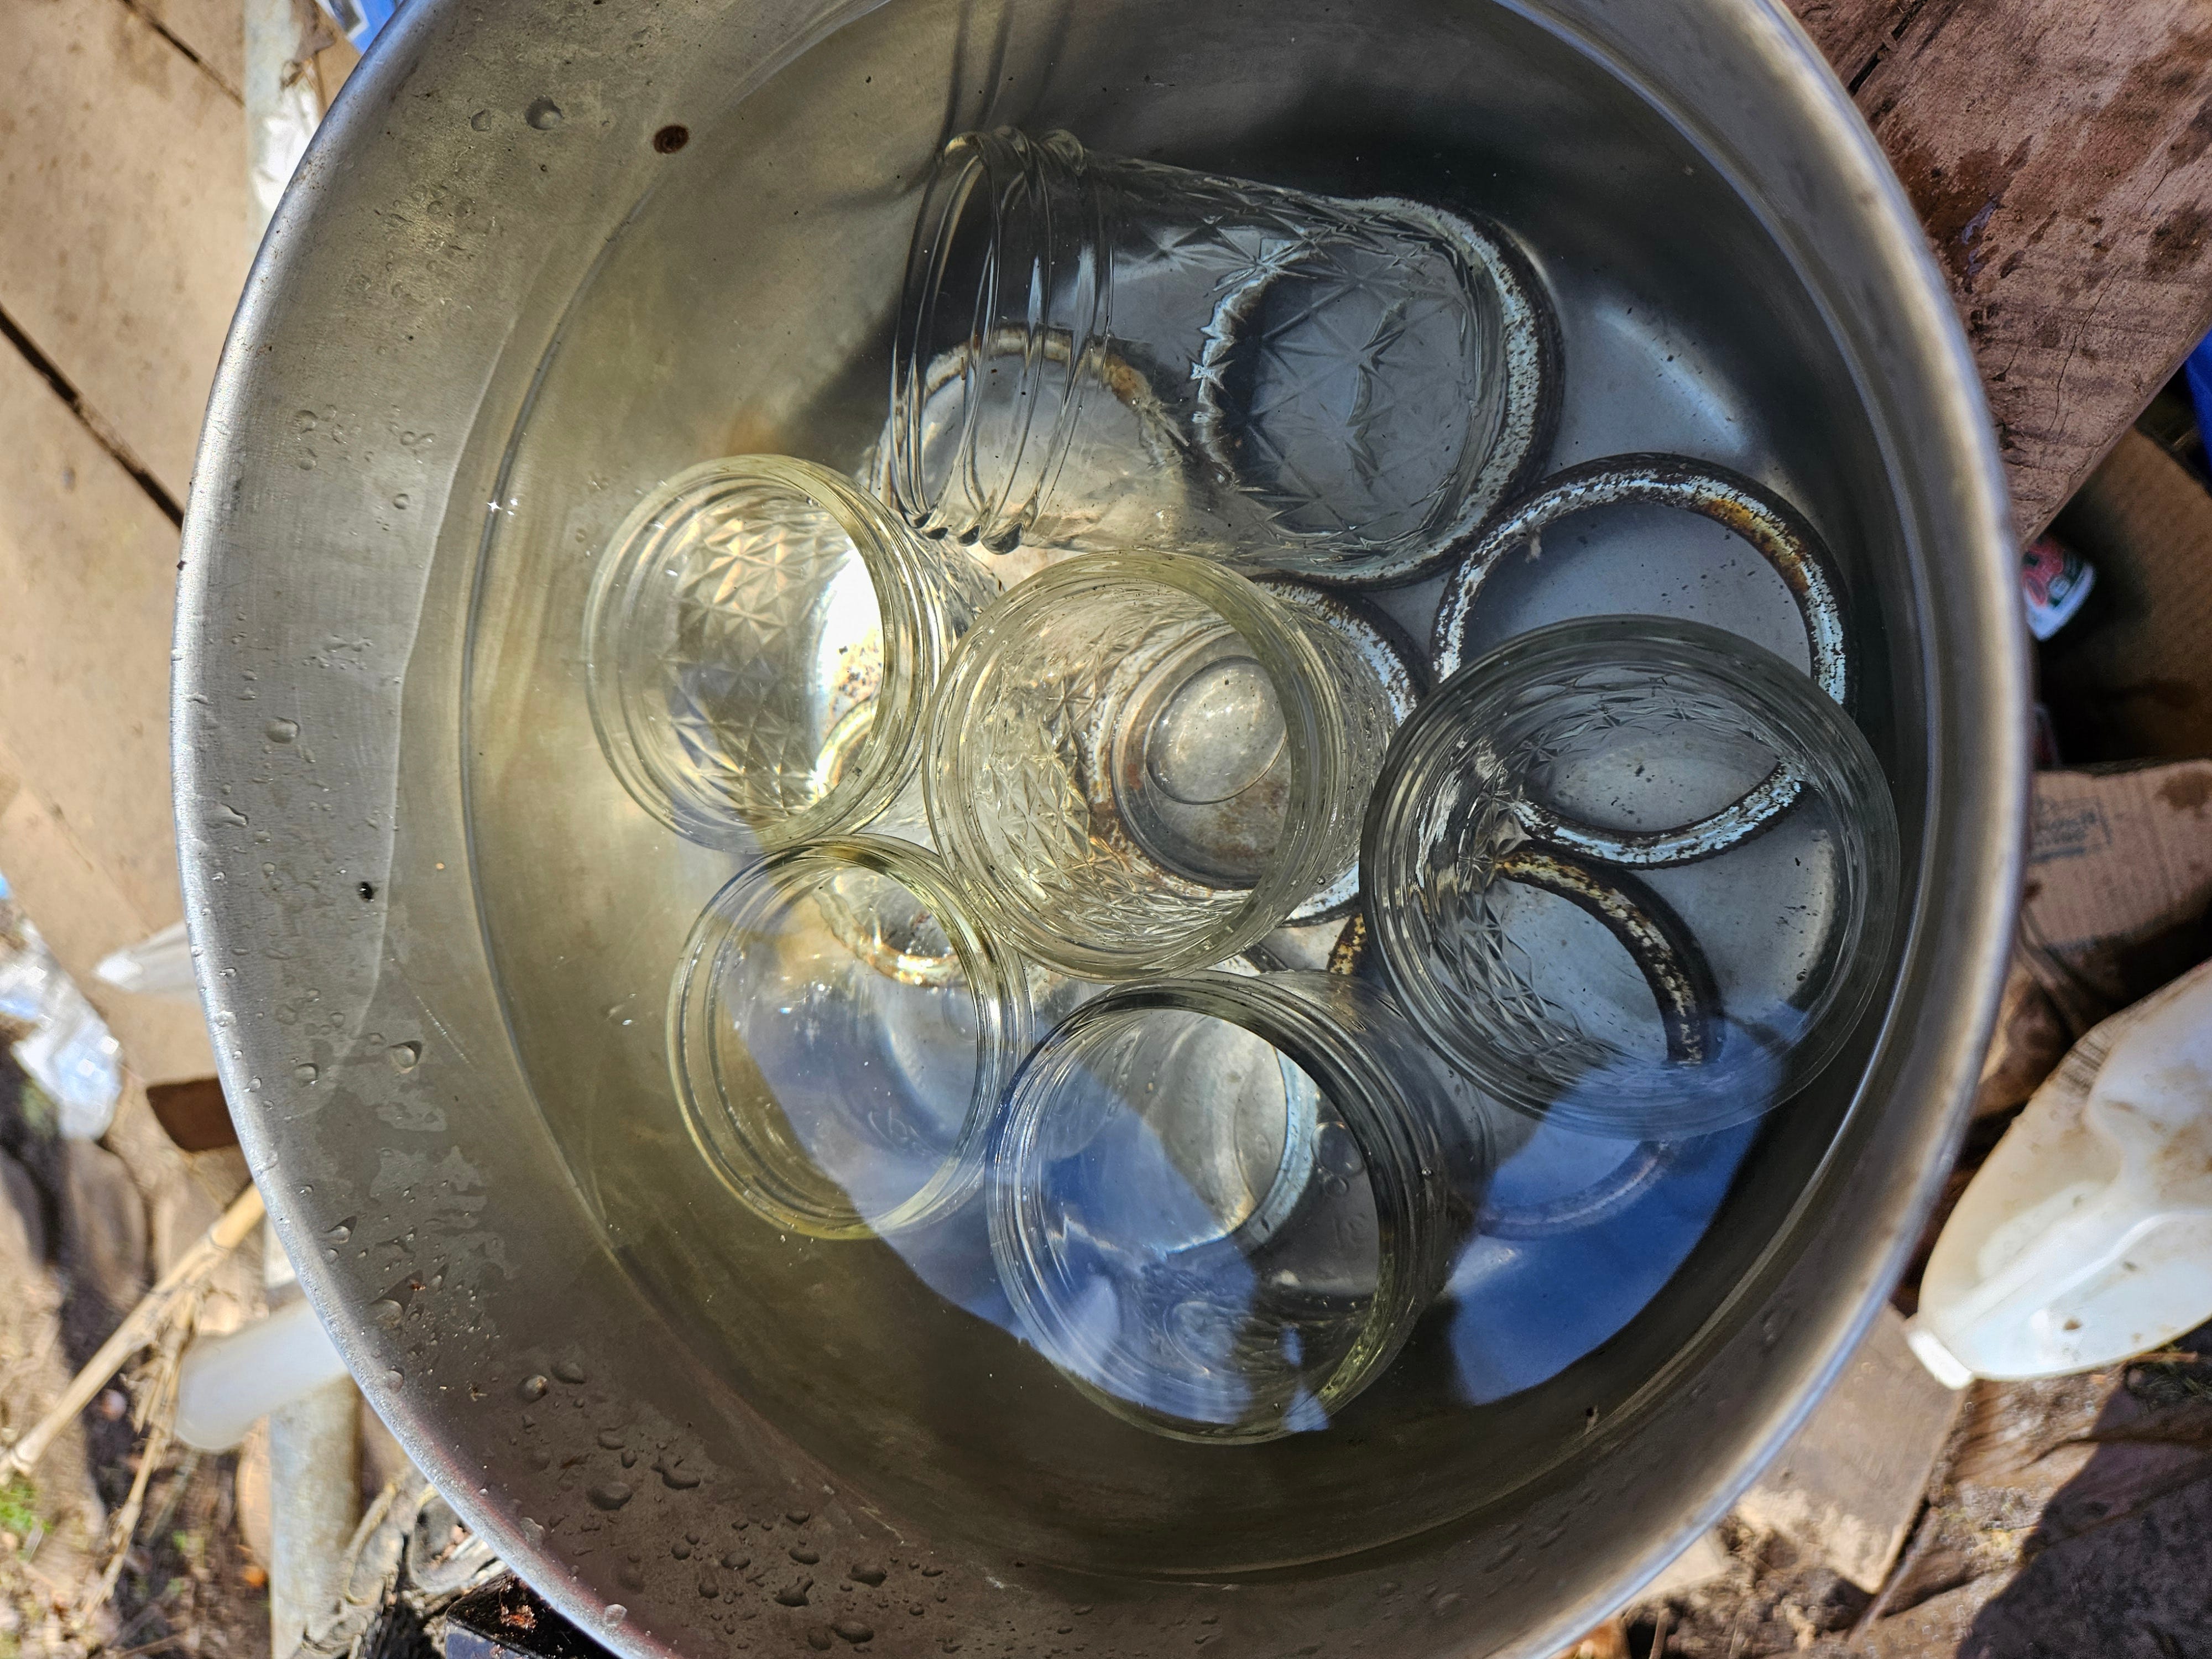
Set the pot on a stovetop and heat on HIGH until the water is boiling. Turn off the heat. This will pre-heat your jars and keep them from breaking.
Make the jelly!


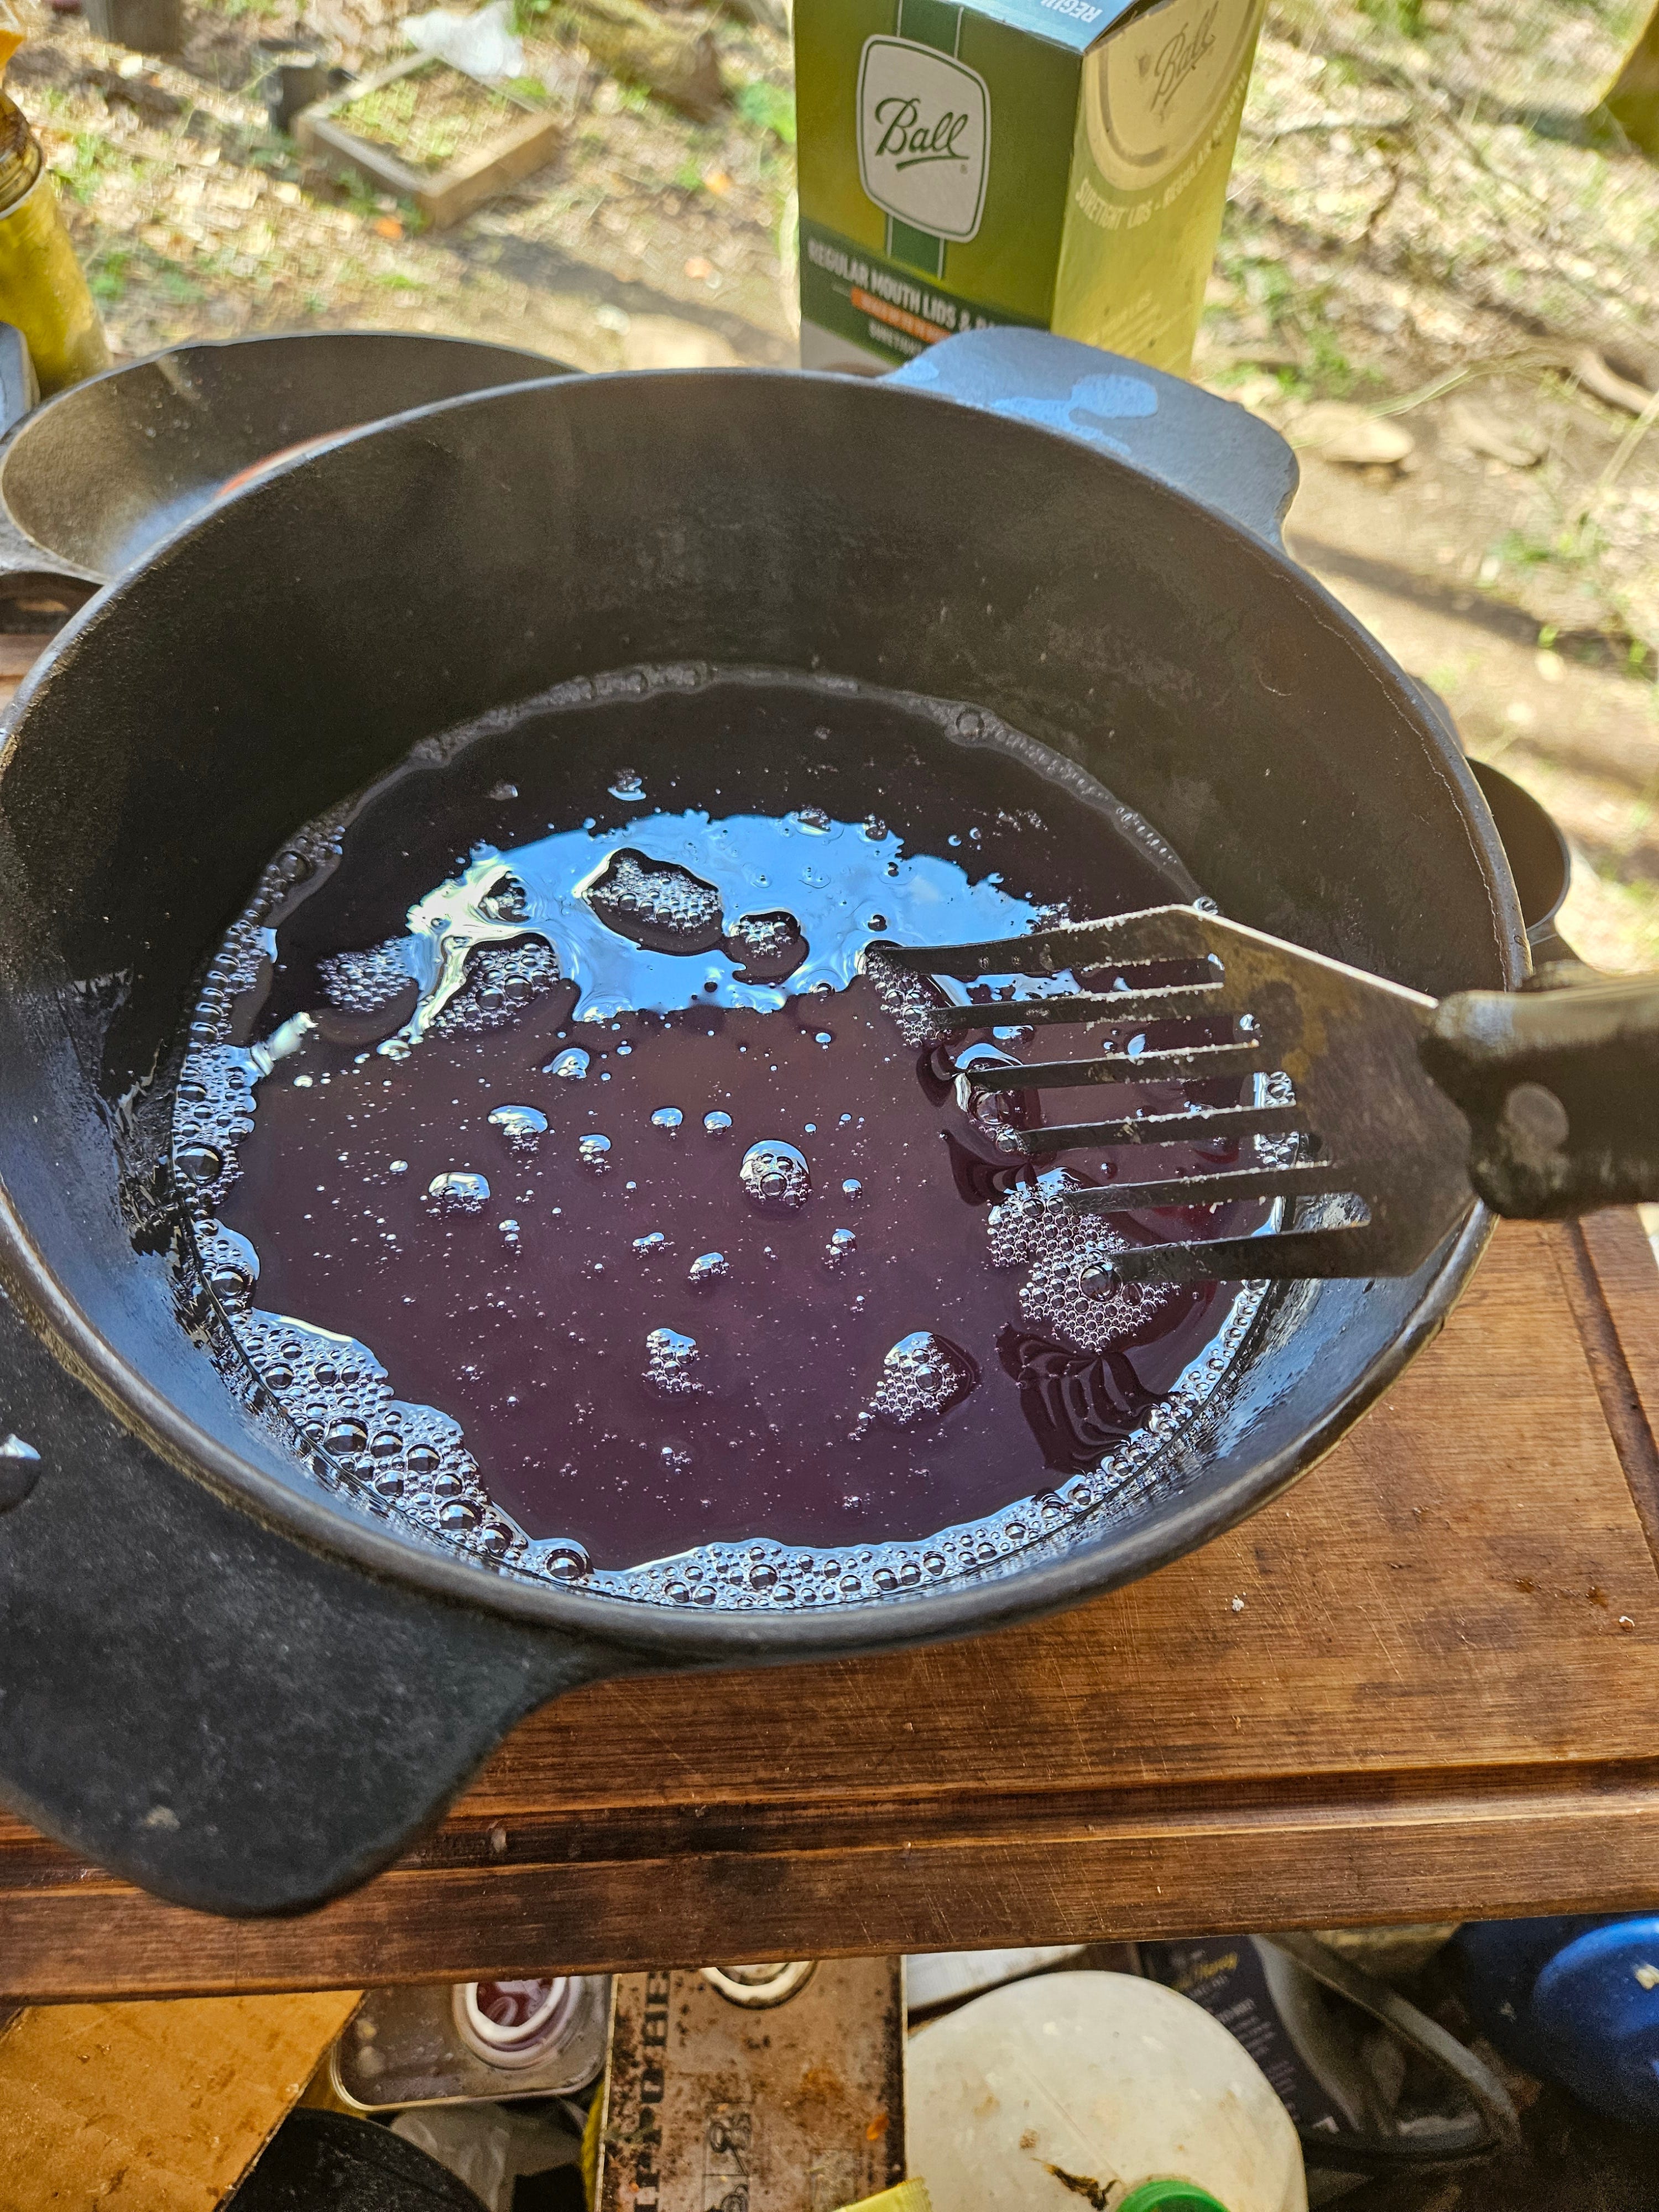
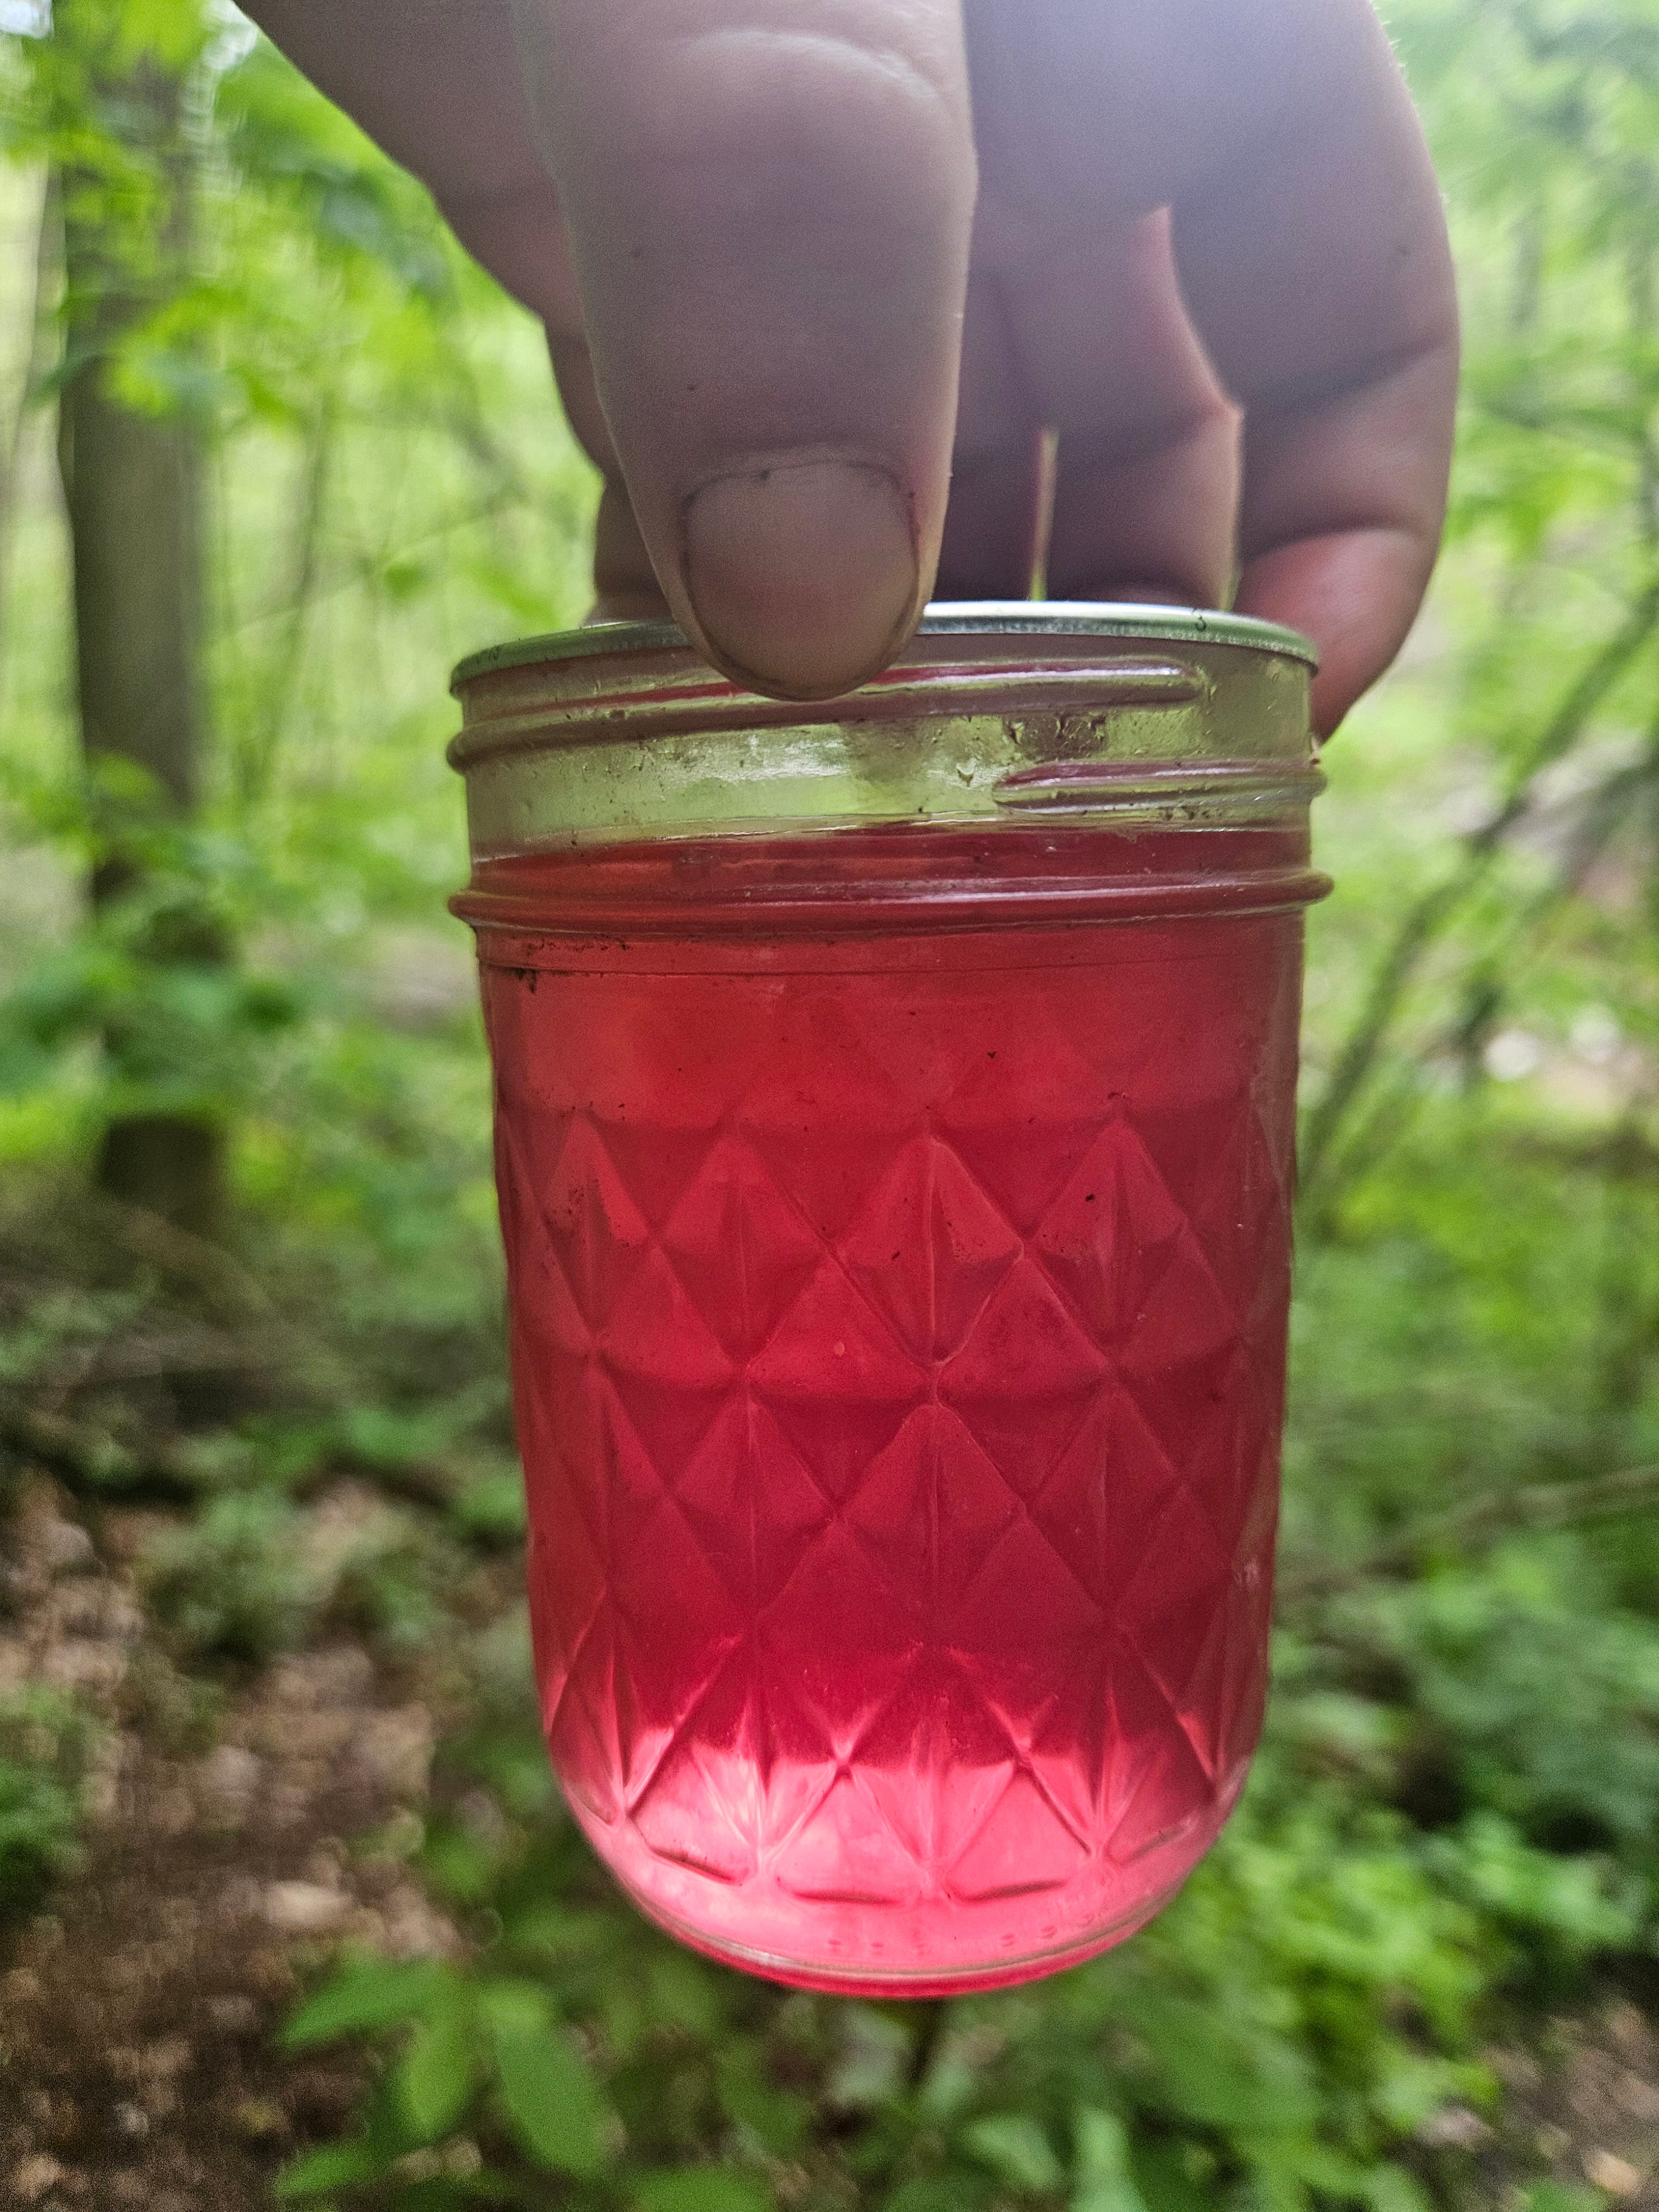
Add 1/2 cup of lemon juice to your violets and water. The color will change from a rich blue to a bright pink or purple. Neat!
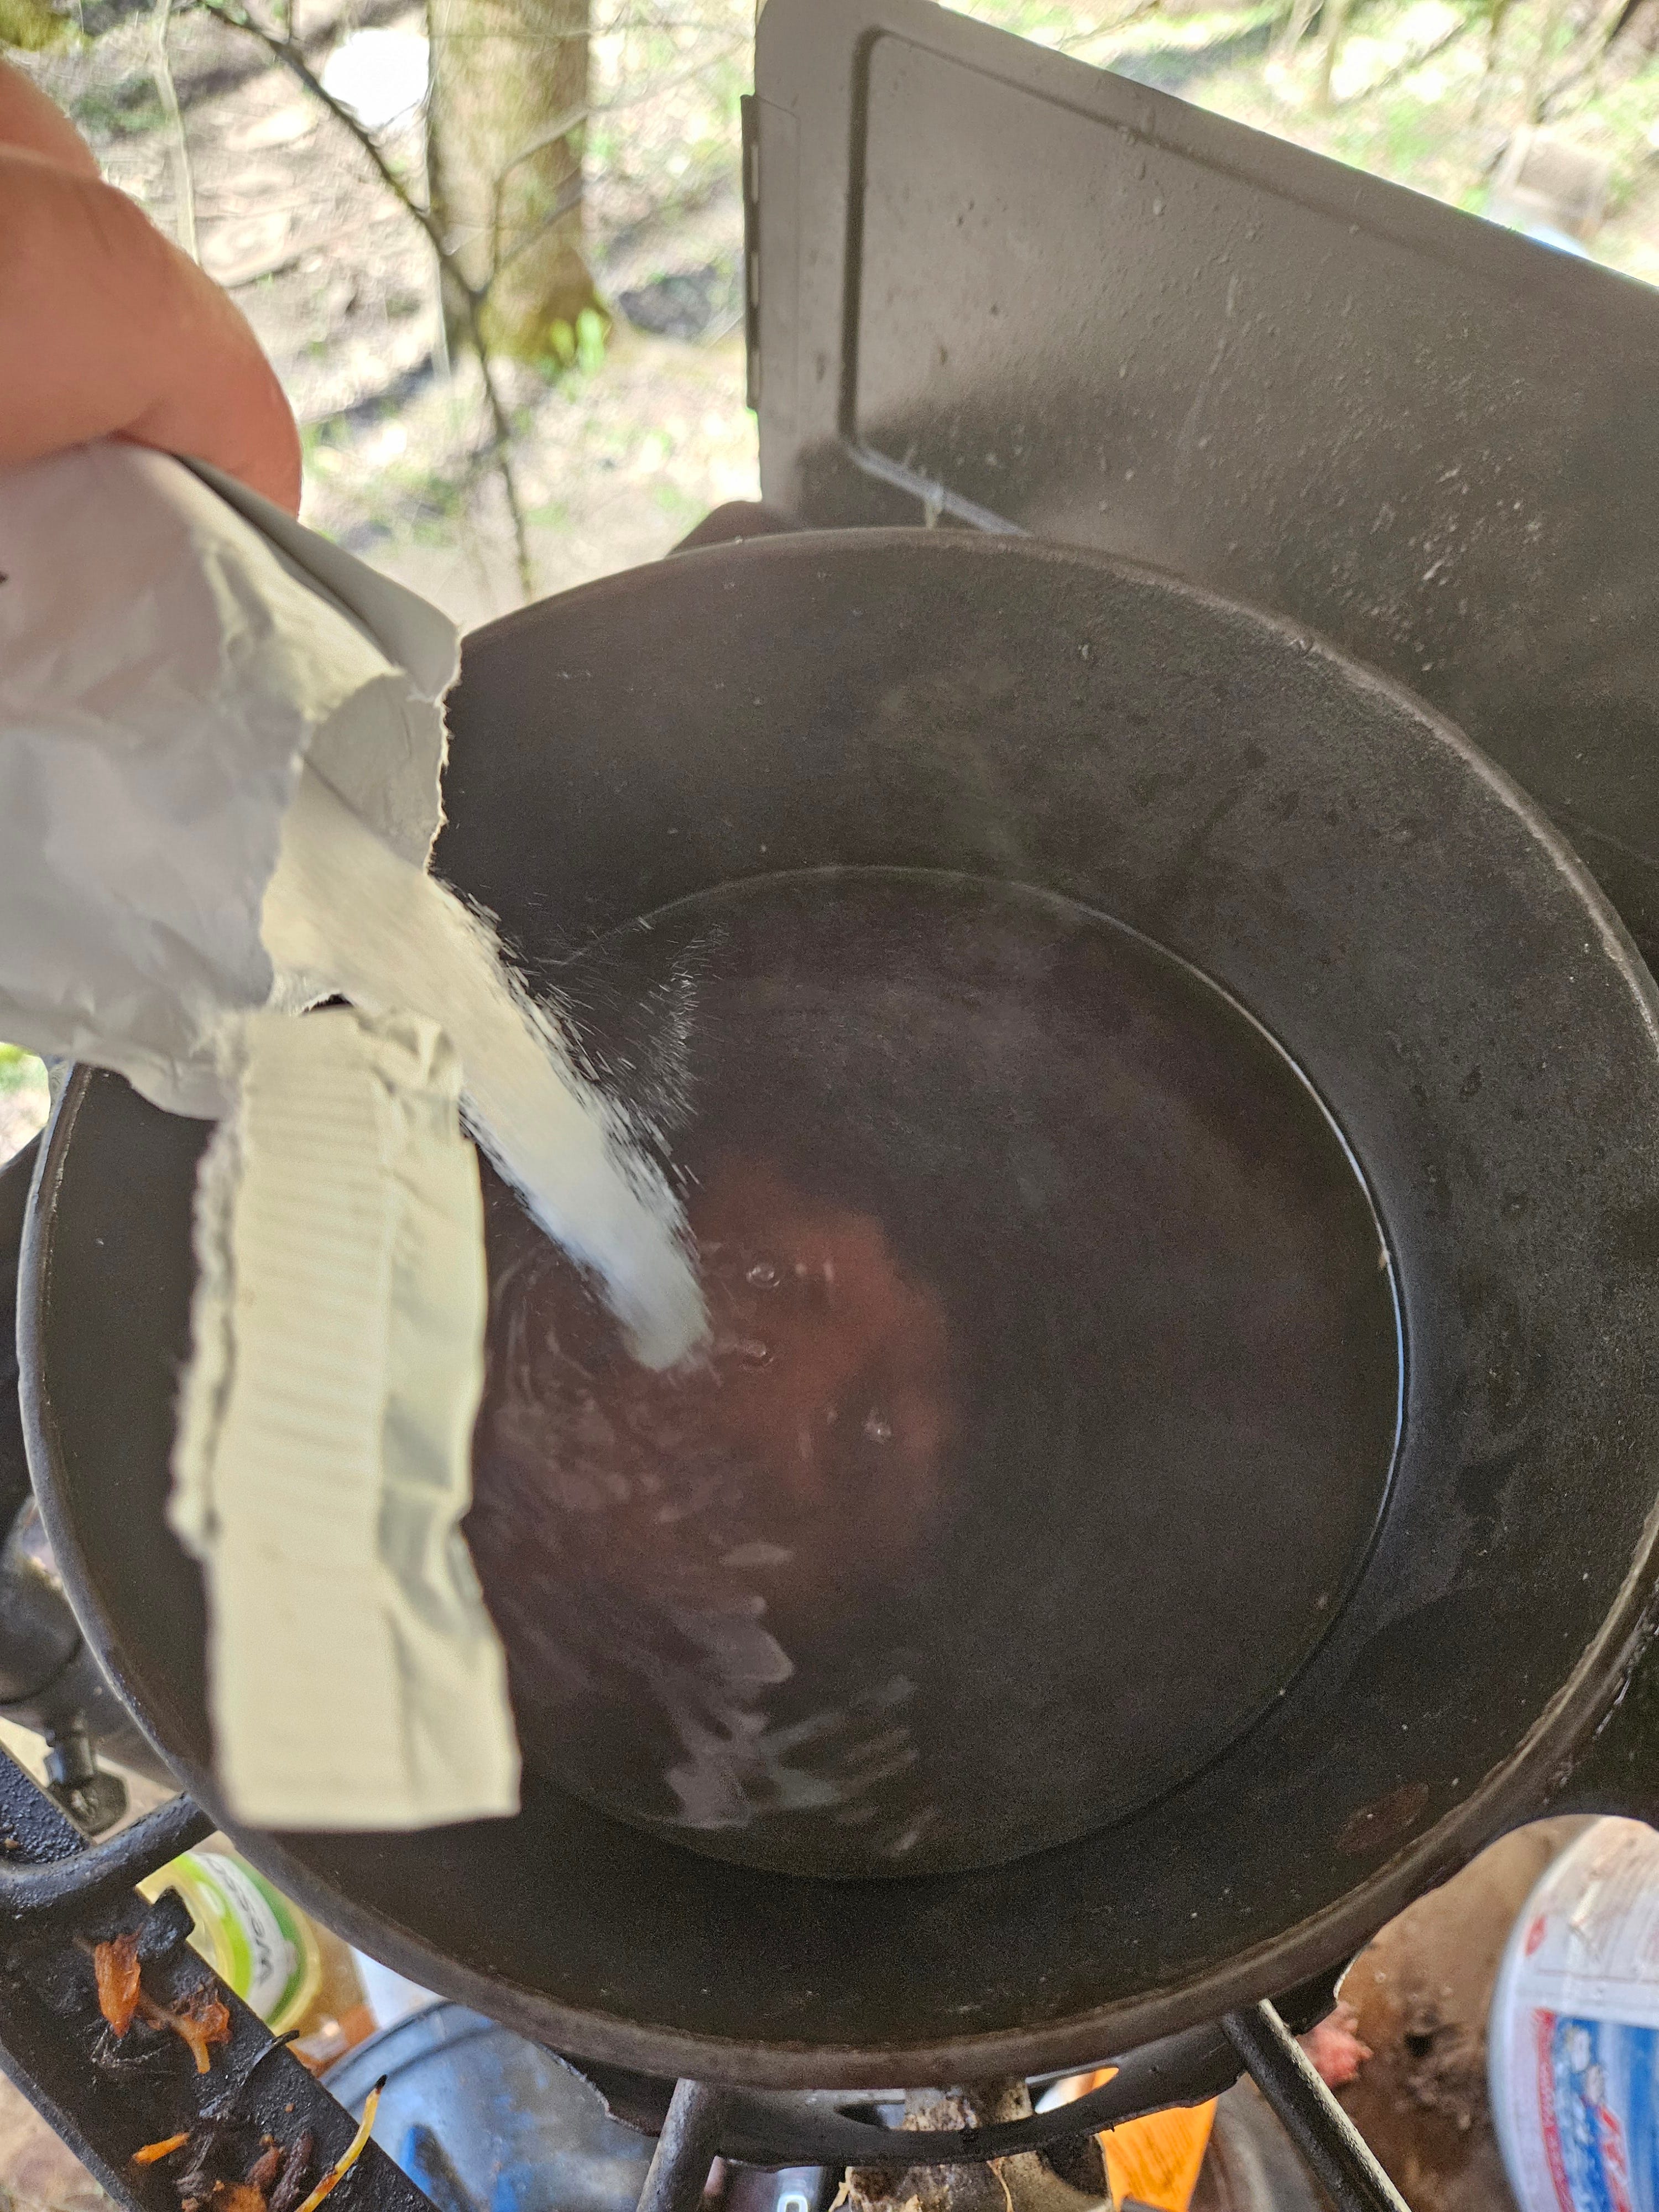
Strain the liquid into a saucepan, and whisk in one box of powdered pectin. Make sure it’s fully dissolved.
Pectin is a protien that naturally occurs in lots of fruit, like apples and berries. It’s what gives jams and jellies their wiggly, jello-like texture. Jams that use whole fruit can have pectin added, or just use the pectin that’s inside the fruit already. Since violets don’t naturally have pectin, we need to add some.
Bring the mixture up to a boil on medium-high heat and boil for 1 minute.
Remove the saucepan from the heat and mix in four cups of white sugar. Make sure it’s fully dissolved and that there are no granules of sugar sticking to the sides of the pot!
Return your saucepan to the heat, bring it to a boil again, and boil for 1 more minute. Stir constantly and turn the heat down if it starts to boil over.
The mixture will be very hot and very sticky. If any gets on you, rinse it off immediately with lots of cold running water.
Use the tongs to remove your jars from the canning pot, pouring the water in the jars back into the canning pot. Set them out on a work surface like a counter or cutting board.
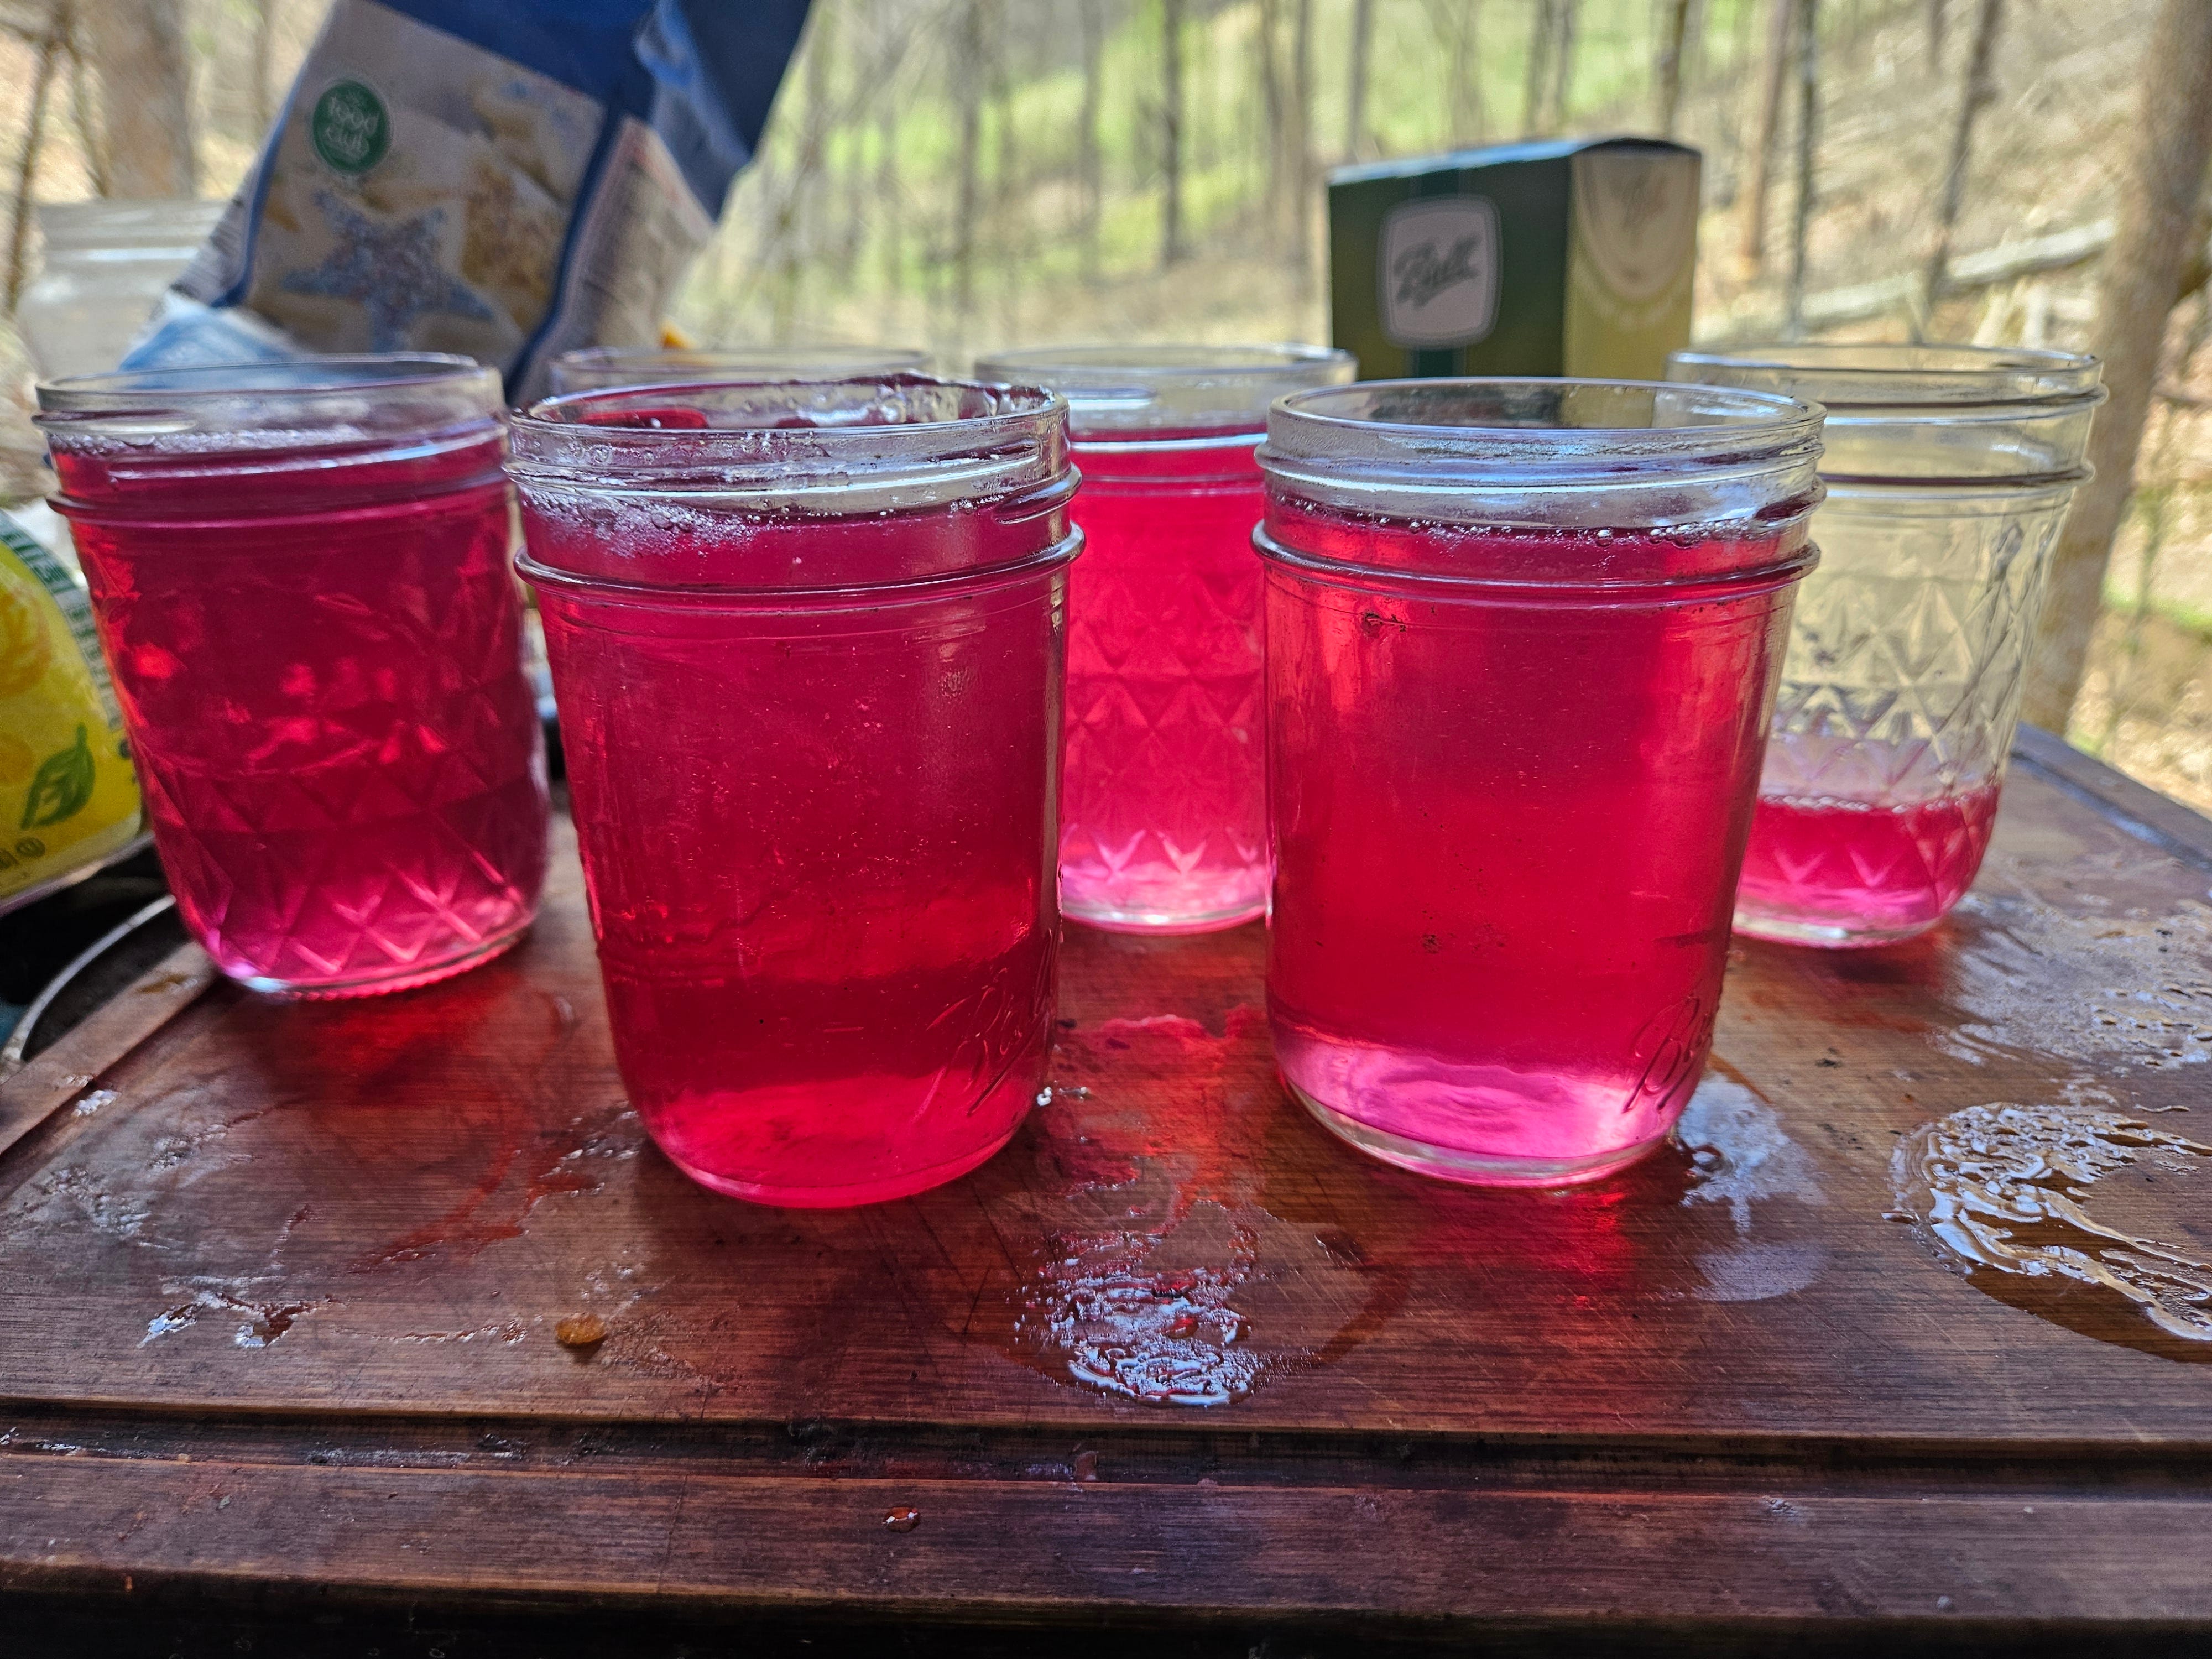
Ladle the hot jelly into the jars, leaving about 1/2-1/4 inch of space at the top of each. Any extra can go into another jar or a tupperware and you can eat it when you’re done canning (just keep it refrigerated or finish it quickly).
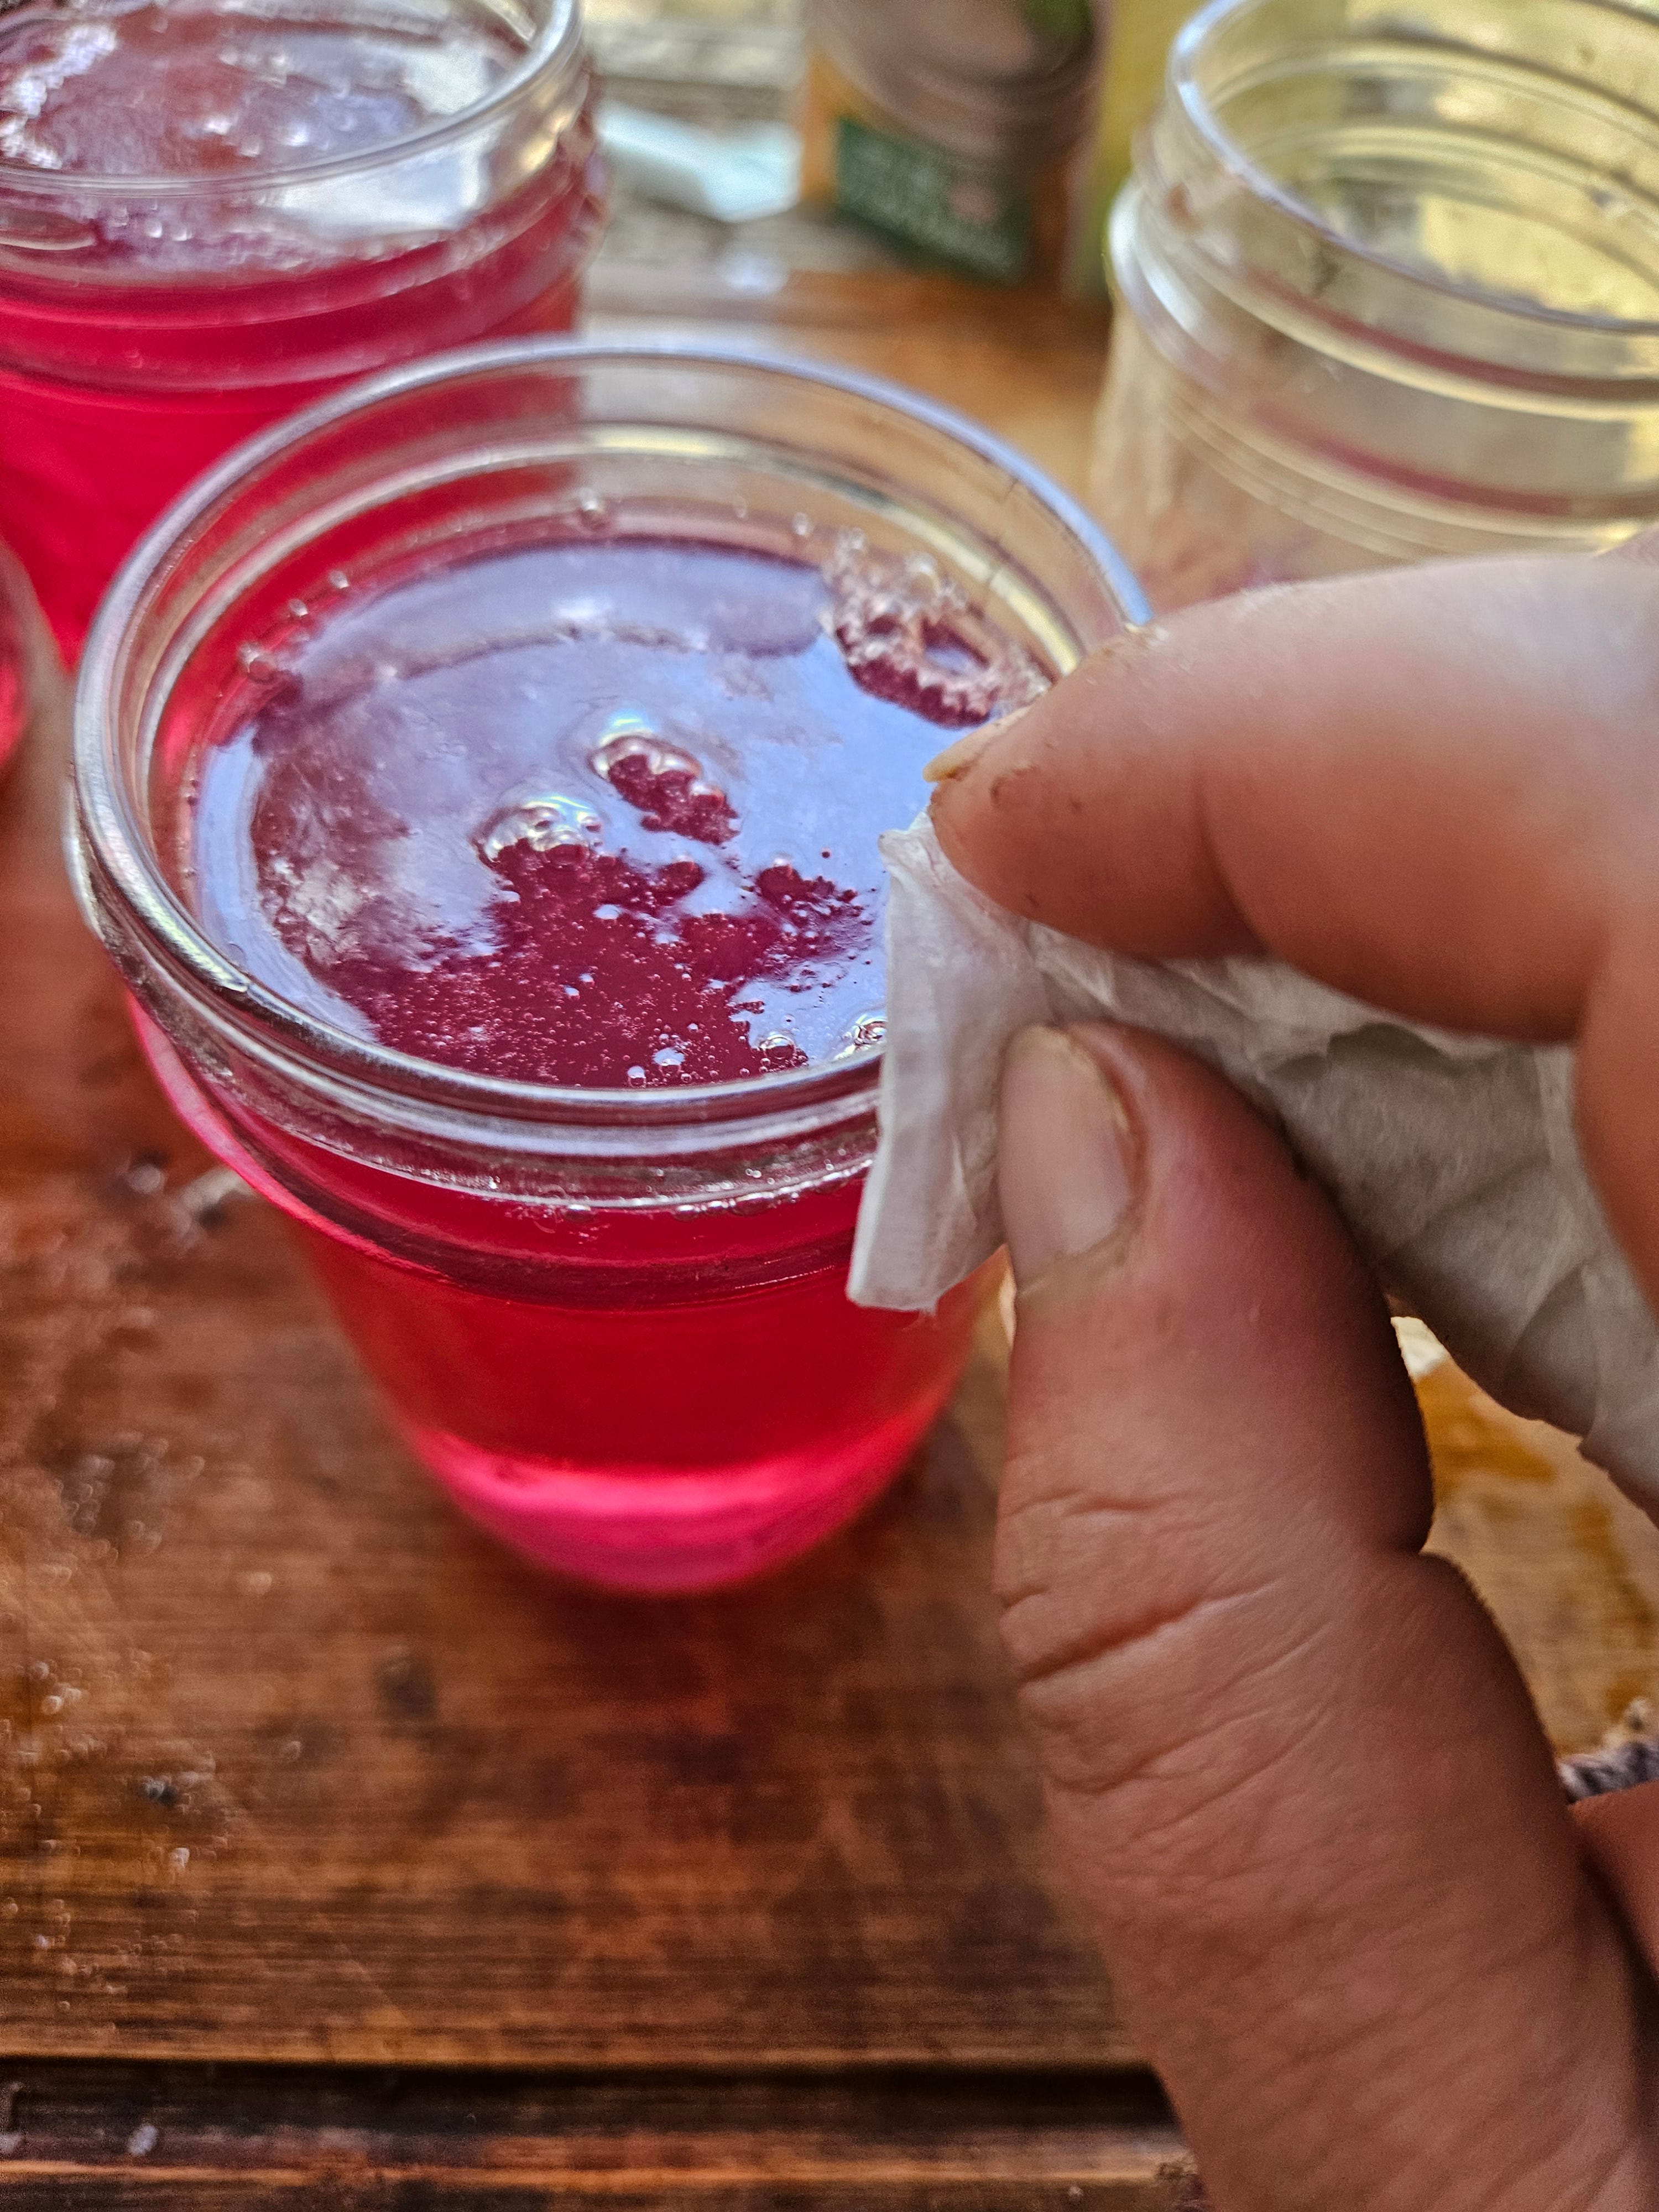
Clean the rims of the jars with a paper towel. Any jelly on the rim will prevent the lid from sealing.
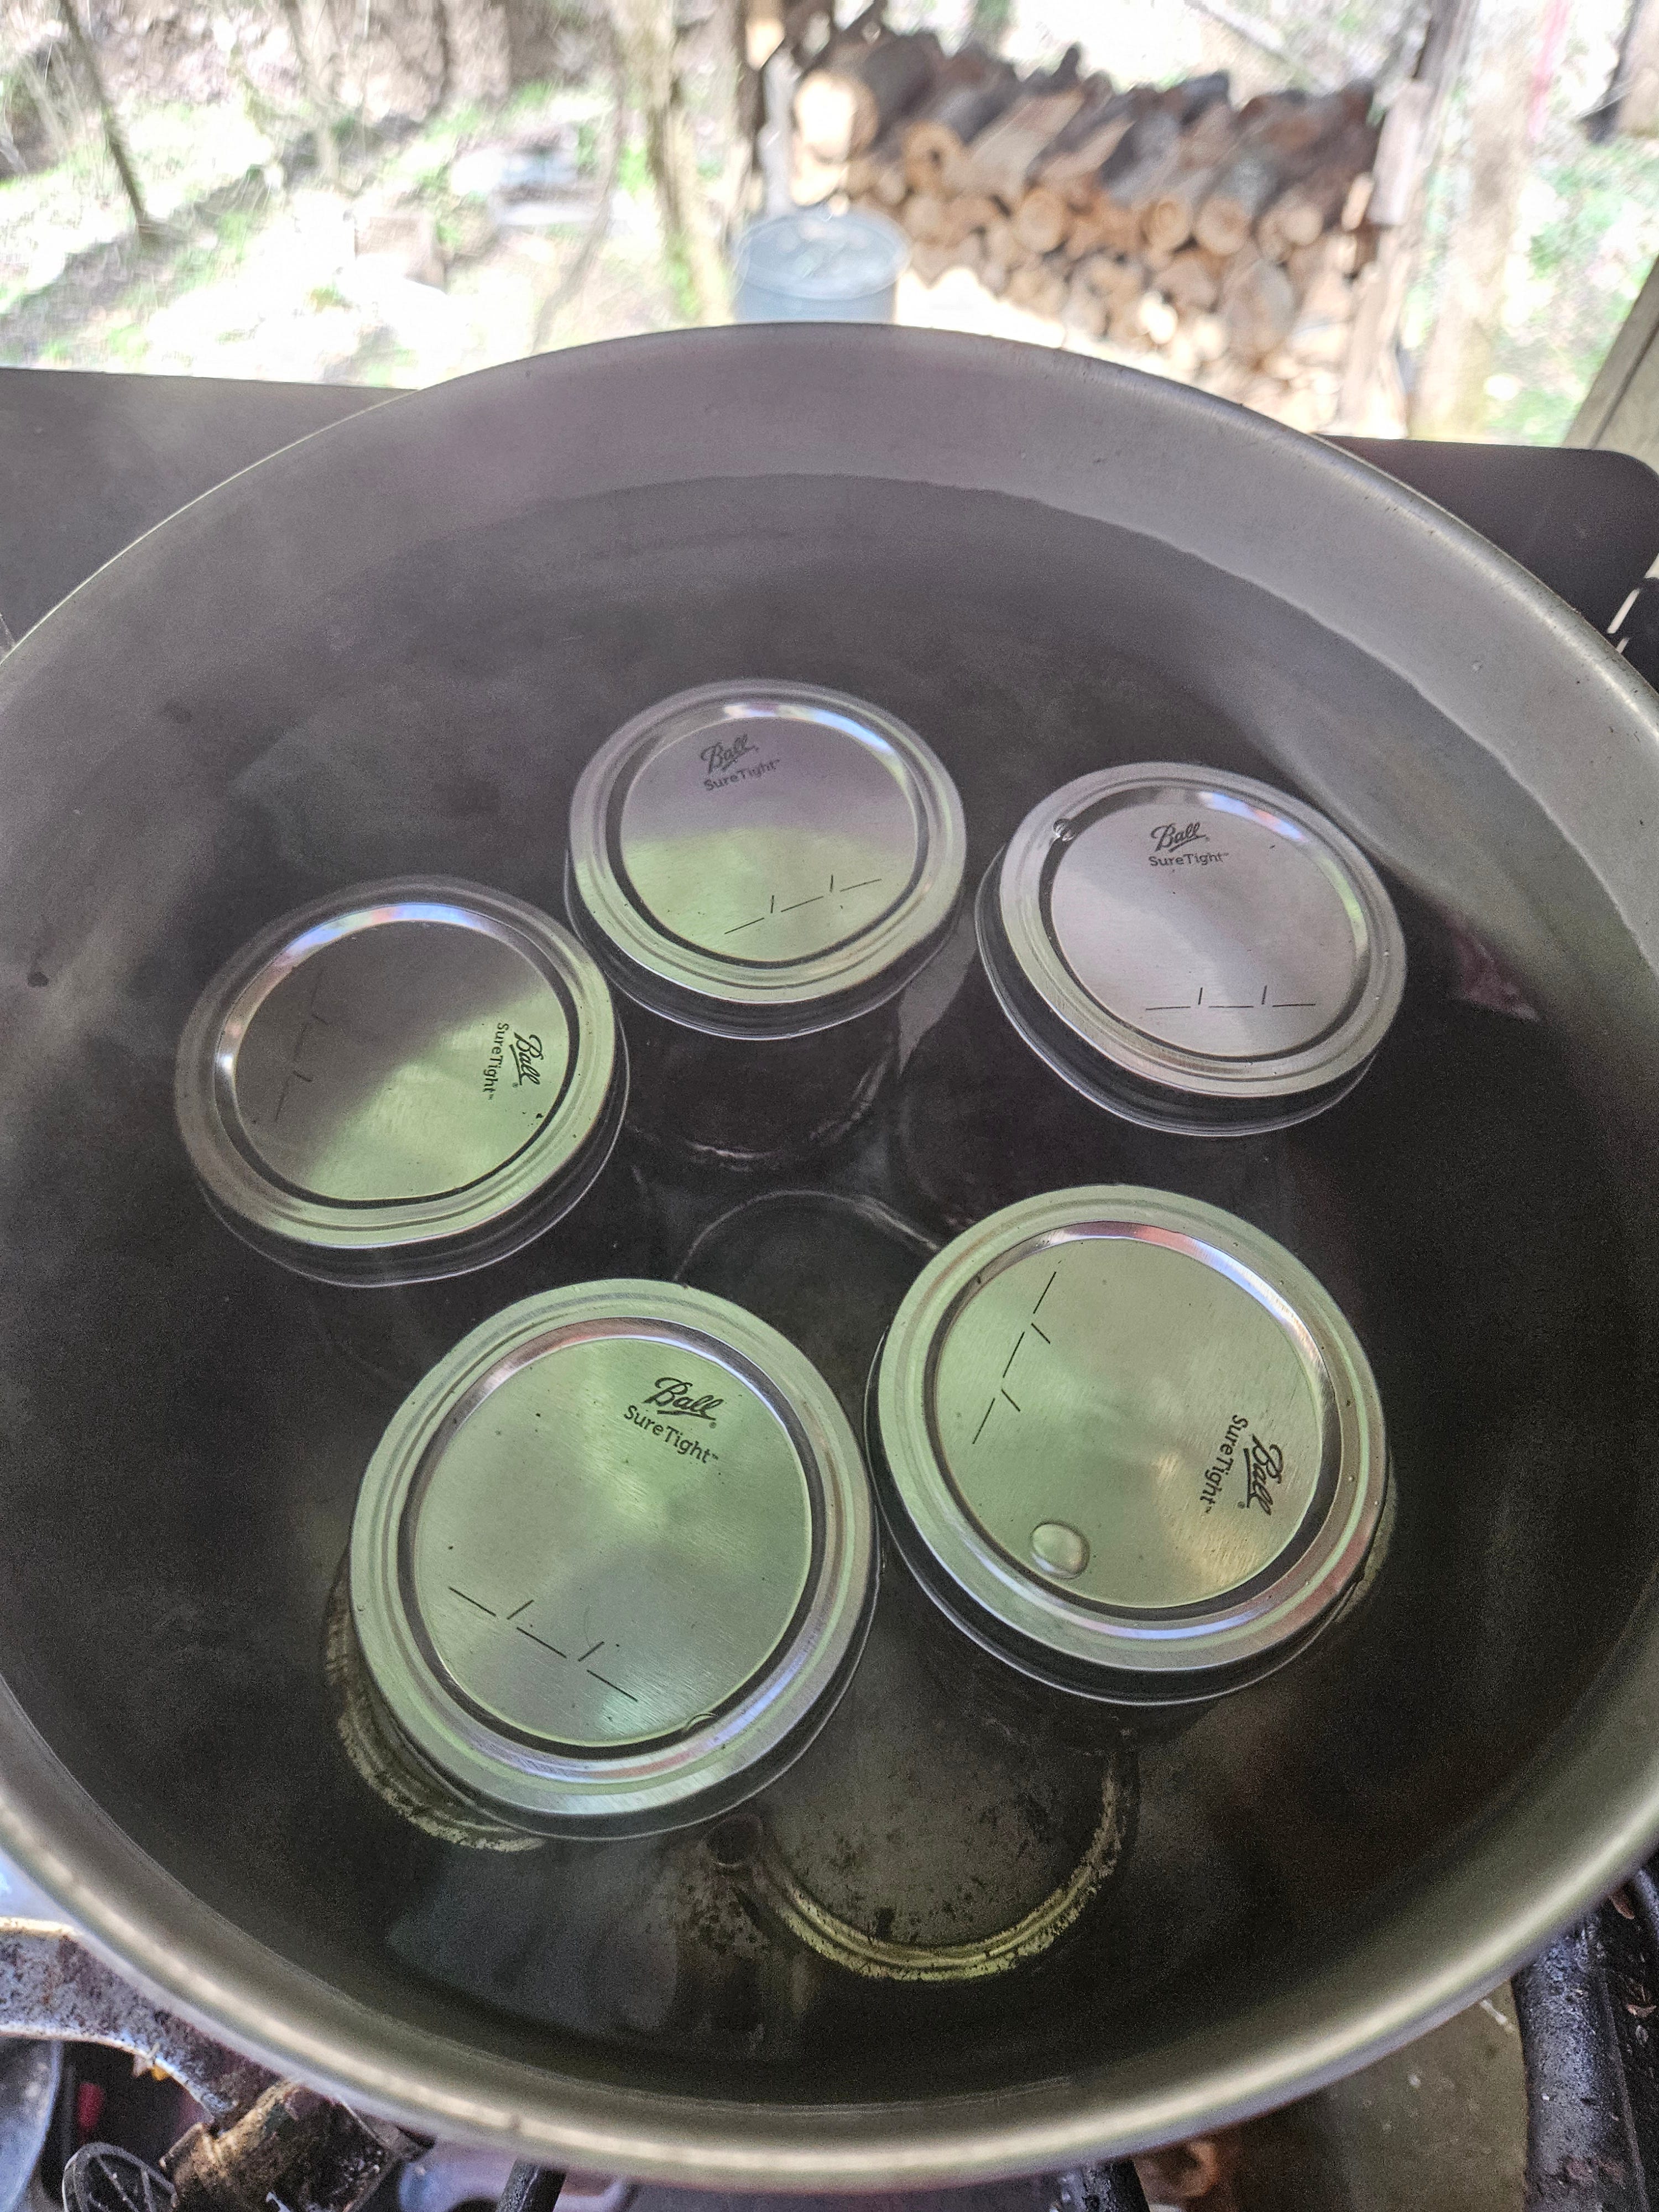
Screw on your two part canning lids and put the jars back in your canning pot.
Set the heat to HIGH and boil the jars for ten minutes. Turn the heat off and let them cool a little bit before using the tongs to pull the jar out and putting them on the counter.
When you remove your jars, the bands on the lids will probably be a lot looser than when you put them in. Do not try to tighten them! The lids are looser because the heat causes the metal to expand. When they cool down, they’ll tighten back up on their own. If you tighten them now, it will be much harder to take them off later.
Testing your seals
After pulling your jars out of the canning bath, let them sit undisturbed on the counter so they have time to cool and seal. Overnight is a safe bet. Once you have more experience with canning, you’ll be able to tell visually when they’re sealed.
We know that jars are sealed when the lids are completely flat or slightly concave. Unsealed canning lids will flex when you press on them, making a popping sound. Sealed jars won’t. Test each seal by taking the rings off the jars and lifting them just by the canning lid. If the lid comes off, it wasn’t sealed properly anyway. Try the canning bath again with a new, never-used-before lid; or just put the lid and ring back on, stick it in the fridge and eat the jelly soon.
You can store your canned jelly somewhere dark and cool (like a pantry or cabinet) with just the lids and reuse the rings for a different canning project with new lids. Use a sharpie to write the date and “violet jelly” on top of each jar. Eat the jelly within one year.
But wait—almost all the ingredients and tools in this recipe are store-bought!
Yup! Being able to buy factory-made items from a store lets us get familiar with the process of making and preserving jellies and jams in a way that is very safe and reliable. We need to know how a process works and how to do it well before we start experimenting with ways of doing it that are less sure.
Canning is much older than the factory-made glass jars and rubber-and-metal lids that we’re using to learn the process now. Your great grandparents might have canned food in glass jars that used melted parrafin wax poured on top of the food to form the seal. Jams might have had added sugar, or were made just using the natural sugar and pectin in fruit. Thousands of years ago, canning was done in handmade clay jars that were sealed with beeswax. People got sick more often from canned food, but in some ways it was also safer. It was more likely for the jars to not seal correctly, let in microbes and air, and get moldy than for the jars to be fully sealed and grow botulism. We can see, smell, and taste that moldy food isn’t something we should eat. Not having access to the ingredients and tools we use to can now would make it a less reliable form of food preservation, which is why it’s important to understand the process. If we ever do need to do it without commerical ingredients, knowing a lot about how the process works will let us know how to do it as reliably as possible as well as when it’s not a good idea and we should try a different method of presvering food.